Car Interior Odor Troubleshooting Matrix
You’ll map scent intensity to likely sources: VVOCs (strong, short-lived) first; then plastics/textiles (sustained); then SVOCs (low, persistent). You should prioritize sampling, filtration, and HVAC checks accordingly.
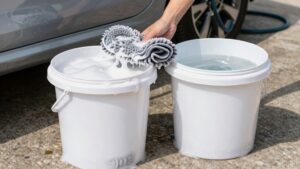
Test particulate removal (MERV) and VOC adsorption (activated carbon). Monitor pressure drop vs blower capacity and inspect vents/evaporator for mildew. Use targeted sniff tests and portable VOC/microbial detectors. Replace or upgrade filters and clean ducts if musty spikes persist.
Follow systematic measurements and escalation steps to fully eliminate odors. Learn practical next actions.
Quick Overview
- Grade odor by intensity/source (VVOC, VOC, SVOC, mildew) and prioritize adhesives/solvents first; then plastics/textiles; then leather/foam.
- Localize source by comparing vent-only, fan-only, and fresh-air intake runs while sniffing at each vent and cabin filter location.
- Test filters and HVAC: check MERV/activated-carbon adsorption; measure pressure drop versus blower capacity; and replace if saturated.
- Inspect evaporator, ducts, and filter housing for dampness, dark deposits, or mold. Use targeted cleaning and disinfectant if contamination is found.
- Verify fixes by rerunning A/C and heater. Document intensity grades over time and escalate to GC-MS/O or professional cleaning if Grade 4 persists.
Odor Source vs. Scent Intensity
When you assess cabin smells, link the suspected source to expected scent intensity using boiling-point-based VOC classes and the decision matrix: VVOCs (solvent residues, adhesives) typically produce a high-intensity, short-lived irritation (Grade 2–4) upon first use. Mid-range VOCs from plastics, textiles, and trim give sustained moderate-to-high odors (Grade 3–4) that decay slowly. SVOCs from leather and foam yield lower, temperature-dependent emissions (Grade 2–3) that can persist.
You will use molecule mapping to attribute odorants to parts, prioritize sampling, and avoid fragranced wipes that enable fragrance masking of true sources. Apply the decision matrix: target adhesives and solvent residues first; then plastics/textiles; then leather/foam. Monitor intensity grades over time; escalate to component-level GC-MS/O if Grade 4 persists.
| Source | Typical Grade | Action |
|---|---|---|
| Adhesives/VVOCs | 2–4 | Ventilate, cure, test |
| Plastics/VOCs | 3–4 | Ventilate, sample parts |
| Leather/SVOCs | 2–3 | Temperature control, clean |
Cabin Air Filter Specs
Linking odor-source grading to filtration, cabin air filter specifications directly affect which contaminants reach the evaporator core and interior surfaces. You should prioritize filters that capture the VOC-carrying particulates and biological spores indicated in the matrix. Select filters by measured filter performance, pressure drop, and media type to balance odor control with HVAC load.
Consider MERV rating for particulate capture and activated carbon layers for VOC adsorption. Monitor replacement intervals to prevent saturated media that degrades heater efficiency and promotes microbial transfer. Evaluate airflow dynamics to avoid reduced fan speed and uneven cabin distribution.
- Test particulate removal (MERV) and VOC adsorption (carbon).
- Measure pressure drop vs. blower capacity.
- Schedule replacements based on miles and climate.
HVAC Duct Mildew Check
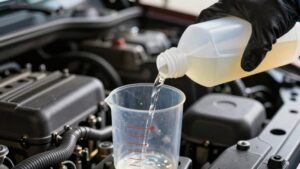
When you suspect a musty odor, start by isolating the smell source with the vents on and off and by noting when it intensifies: A/C heat cycle vs. fan-only. Inspect for mold growth indicators—visible dark deposits at the evaporator or vent lips, persistent dampness, and clogged cabin filters. Perform targeted odor testing with a portable VOC/microbial detector or simple sniff tests at each vent.
If contamination is confirmed, use targeted duct cleaning techniques (brush, vacuum, approved biocide) and implement preventative moisture control. Run the heater at full briefly after A/C use, replace filters regularly, and ensure drain lines remain clear.
Smell Source Identification
How can you quickly confirm that mildew in the HVAC ducting is the smell source? You’ll perform a focused test: set blower to high, select fresh-air intake, and switch A/C on then off while noting scent intensity at vents. If the musty odor spikes immediately at vent outlets and not from cabin fabrics, the odor source is within the ducting or evaporator.
Use a flashlight to inspect visible duct openings and filter housing for condensation staining and fungal spots. Replace the cabin air filter and repeat the blower test; persistent odor after filter change confirms deeper duct or evaporator contamination. Avoid surface-cleaning only.
If odor remains, schedule professional HVAC cleaning and evaporator inspection to remove biofilm and restore system airflow and indoor-air quality.
Mold Growth Indicators
You’ve already tested the vents and replaced the cabin filter. Now confirm mold presence with targeted indicators that point specifically to HVAC duct or evaporator colonization.
Inspect for persistent musty odor that intensifies when A/C engages: this is an immediate symptom of evaporator core moisture. Check condensation patterns; look for recurring beads or pooled water at duct inlets, drip tube overflow, or damp insulation along duct runs.
Use a flashlight to assess evaporator core visibility through service ports or by removing access panels. Visible dark biofilm or fuzzy growth on fins confirms colonization.
Smell localization to vent output versus cabin fabrics helps isolate HVAC source. Record humidity, recent water intrusion, and filter change history. If indicators align, schedule professional evaporator and duct cleaning rather than surface-only treatments.
Odor Testing Methods
Why does the smell spike when the vents run? You perform systematic odor testing focused on the HVAC duct mildew check. Start with the engine off, sealed cabin; then run the blower at low and high speeds, noting scent intensity changes. Use a handheld VOC/odor meter if available to record baseline and peak readings near the evaporator drain and glovebox vents.
Inspect and swab vents for visible residue; place swabs on agar or use an ATP luminometer for rapid microbial load estimates. Compare results after cycling the heater at high to dry ducts; a drop in readings suggests moisture-driven growth. Log the location, blower setting, temperature, and sensor values.
If elevated odor testing metrics persist, prepare for a professional HVAC inspection rather than ad hoc cleaning.
Duct Cleaning Techniques
When did you last verify the evaporator housing and ductwork for microbial growth? Inspect visually with a flashlight; remove the cabin filter and probe accessible ducts for biofilm. Use dye tests to confirm hidden leaks or condensate pooling around seals and drain tubes.
Run the blower while applying a neutral antimicrobial foam into the intake. Observe foam transit to solar vents and downstream outlets. Mechanically agitate accessible evaporator surfaces with soft brushes and vacuum with HEPA-rated suction.
Avoid excessive solvents that damage plastics. After treatment, dry the system with continuous blower operation and confirm odor elimination by cycling A/C and heater modes. If a musty smell persists, schedule professional HVAC disinfection and evaporator core service; DIY access is limited and contamination may be internal.
Preventative Moisture Control
How often should you inspect the evaporator housing and duct pathways for moisture accumulation and early microbial growth? Inspect visually and by touch every 3 months in humid climates, and biannually in dry regions.
Start with blower-off checks: remove filter, use a flashlight, and probe accessible duct runs with a moisture meter or sterile swab. Note condensation pockets at the evaporator drain pan, seams, and flex-duct joints. If you detect dampness or visible colonies, log location, estimate scent intensity, and isolate as a probable odor source.
Run the heater at high for 10–15 minutes to evaporate residual moisture after drying procedures. Replace the cabin filter immediately. Schedule professional HVAC cleaning when recurrent moisture or moderate-to-high scent intensity persists despite these controls.
Post-Cleaning Inspection
Want to confirm the HVAC cleaning worked? Inspect systematically: run the A/C and heater separately for five minutes each; set blower to medium; and note any musty activation when humidity is present. Use a flashlight and flexible inspection camera to view the evaporator core and accessible ducts for visible residue or biofilm.
Replace the cabin air filter before testing; trapped spores can mask results. Smell-check at vents and in the footwells; document odor persistence and intensity on a simple scale (0–5). If mustiness returns, mark as “Subtopic not relevant to Other H2s” and schedule professional HVAC deep cleaning with antimicrobial treatment.
Retest after service; absence of odor plus dry ducts confirms remediation.
Frequently Asked Questions
Can Odor Detectors Sense VOCS From New Car Off-Gassing?
Yes, you can detect VOCs from new car off gassing with appropriate sensors. You’ll use metal-oxide or photoionization detectors calibrated for common VOCs; sensitivity depends on instrument detection limits and concentration.
Portable PID units detect many organics quickly, while MOS sensors give cheaper broad-response monitoring. For quantitative results, you’ll use GC-MS sampling. Ensure warm cabin sampling and repeated measurements, since heat increases off gassing and VOCs decay over weeks.
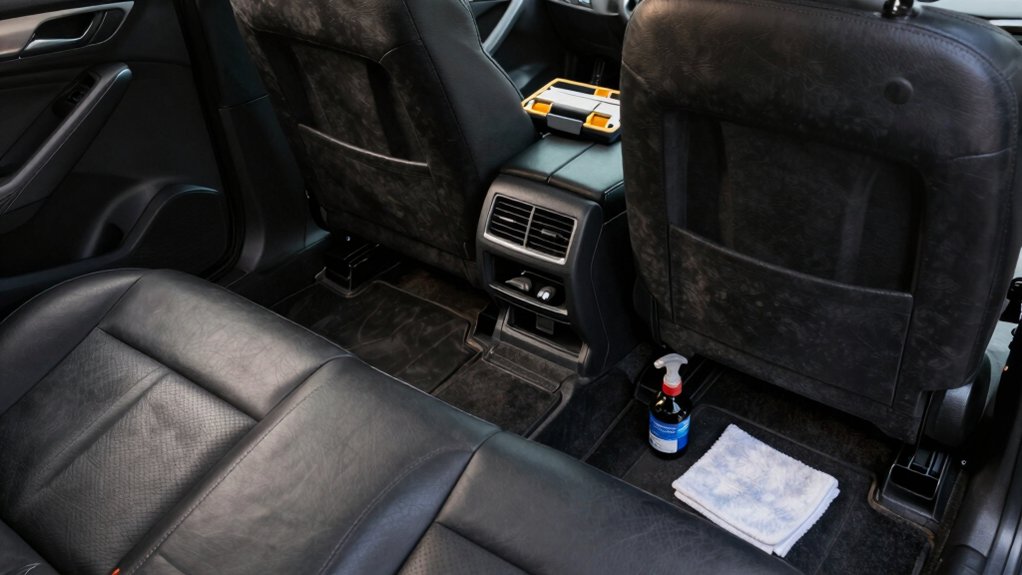
How Long Until Upholstery Odor Treatments Are Safe to Re-Enter?
You can typically re-enter after 30–60 minutes for light spray treatments. For foggers or strong chemical agents, wait 2–24 hours depending on ventilation and product. For heat-activated or sealant treatments, extend to 48 hours.
Always follow label instructions. Monitor odors safety by sniff test and VOC detector if available. Ensure upholstery timing accounts for drying and off-gassing. Ventilate thoroughly before occupancy to minimize exposure.
Can Pet Urine Permanently Damage Seat Heating Elements?
Yes, pet urine can permanently damage seat heating elements if it soaks through upholstery to wiring or connectors. You should inspect for corrosion, shorted circuits, and insulation breakdown. Replace affected heating pads and wiring if tests fail.
Clean surrounding fabrics to remove soot odors and neutralize ammonia before reinstalling components. Avoid masking smells with air fresheners until repairs and thorough decontamination are completed to prevent trapped residues.
Are Ozone Generators Safe for Removing Smoke Odors in Cars?
No, you shouldn’t rely on ozone generators for smoke odor removal. Ozone safety concerns are real. Ozone can oxidize smoke compounds; however, it corrodes wiring, degrades fabrics, and irritates lungs.
If you use ozone, vacate the vehicle, remove people and pets, run controlled low-dose cycles, and ventilate thoroughly afterward. Prefer professional thermal or deep-cleaning methods, activated carbon, or specialized adsorption filters for safer, effective odor removal.
Will Professional Detailing Void Vehicle Warranty for Odor Issues?
Generally, professional detailing won’t void manufacturer odor warranties unless the service alters covered components. You should document pre-service condition, use certified detailers, and retain receipts to prove noninvasive cleaning.
Check your vehicle’s warranty terms for exclusions related to interior treatments, chemicals, or aftermarket parts. If a dealer claims voided coverage, request written justification referencing specific warranty clauses.
Escalate to the manufacturer if you believe the denial lacks a technical basis.
Conclusion
You’ve followed a systematic approach to isolate and mitigate interior odors: compare odor source vs. scent intensity, verify cabin air filter specs, inspect HVAC ducts for mildew, and perform targeted smell-source identification and odor testing.
Remove mold growth and apply appropriate duct-cleaning techniques. Then implement preventative moisture-control measures. After cleaning, perform a post-cleaning inspection and retest scent intensity to confirm remediation.
Repeat monitoring on a schedule to ensure long-term odor control.