Foaming Sprayer Use Cases in Detailing
You’ll get faster, safer, more consistent washes by using a foaming sprayer to pre-dwell surfactants, control runoff, and visualize coverage across panels. Dial pressure and nozzle size to match desired foam density: higher PSI with smaller orifice for cling; lower PSI or larger orifice for wet coverage.
Start with manufacturer dilution ranges, test on a panel, and adjust for paint sensitivity. Follow simple mixing, PPE, and storage steps to repeat results. More setup tips follow.
Quick Overview
- Pre-wash loosens road grime and bugs with thick foam dwell time before touchless or two-bucket washing.
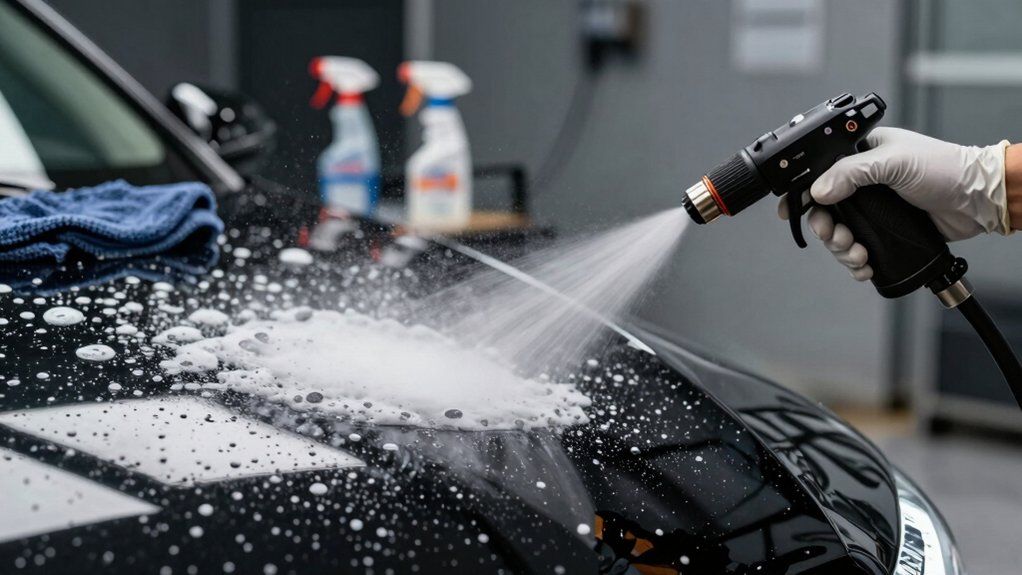
- Snow-foam covers vehicles evenly for visual cleaning and lubricated contact when used with mitt or brush.
- Wheel and tire foaming applies concentrated degreasers safely for dwell and agitation without splashing.
- Trim and engine bay foaming allows controlled product contact on sensitive substrates without over-wetting.
- Spot-treatment foam targets tar, bird droppings, and heavy contamination for localized soaking and easier removal.
Foam Output vs Pressure
How does pressure change the foam you get? You’ll see pressure shift foam consistency: low-pressure sprayers yield thick, lingering suds with limited volume. Pressure-washer cannons trade between density and coverage depending on PSI/GPM and nozzle materials. Match PSI, GPM, and orifice for predictable results.
| Pressure Category | Foam Result |
|---|---|
| Low PSI (manual) | Dense, long-dwell foam; repump often |
| High PSI/Low GPM | Very thick foam; lower volume |
| Balanced (sweet spot) | Optimal thickness + coverage |
You’ll adjust soap ratio and warm water to compensate for hard water. Visual-check the foam band and swap nozzles or orifices when the spray pattern narrows. Use gauges, test passes, and inspect dwell to dial product performance precisely.
Nozzle Size & PSI Guide
Wondering which nozzle size and PSI combo will give you the foam you want? You’ll match nozzle size to pressure to control foam output precisely. Smaller orifices plus higher pressure make dense, clinging foam; larger orifices plus lower pressure produce thicker wet coverage. Use this psi guide to visualize results and pick hardware that fits your workflow.
- Thrill: see bubbles transform into a blanket of cleaning power.
- Confidence: know pressure and nozzle deliver repeatable clinging foam.
- Relief: avoid under- or over-spraying delicate finishes.
- Satisfaction: get even, camera-ready coverage every pass.
- Control: dial pressure and nozzle to sculpt foam texture.
Measure pressure at the gun. Note nozzle size stamping and adjust until foam output matches your target.
Recommended Soap Dilution Ratios
Decide your soap-to-water ratios based on whether the product is concentrated or ready-to-use. Note that concentrated formulas typically start at 1:64 to 1:128; ready mixes often sit around 1:10 to 1:20.
Adjust dilution for paint sensitivity and desired foam thickness. Softer paints and show cars get milder mixes and denser foam; heavily soiled trucks need stronger concentrations and looser suds.
Follow a simple mixing procedure: measure, pre-dilute in a separate container, test a small panel, then fine-tune foam via the cannon’s nozzle and pressure settings.
Soap-To-Water Ratios
What concentration should you load into a foam cannon depends on the soap and the job at hand: for routine washes start with a 1:30 to 1:50 soap-to-water dilution (about 2–3% active solution) and adjust from there for heavy grime or delicate finishes.
You’ll meter dilution to control viscosity, cling time, and rinsing speed. Thicker foam (1:20–1:10) increases dwell and lubrication for heavy-duty vehicle cleaning, while lighter blends (1:60–1:100) suit quick maintenance. Measure by volume, use graduated bottles, and note that incorrect mixing can behave like wrong coolant in a system; this causes poor performance.
Watch foam color and stability as a proxy for concentration; shifts tell you when to tweak ratios for optimal coverage and safe paint contact.
Concentrated Versus Ready
Many foaming solutions come either as concentrated syrups you dilute yourself or as ready-to-use mixes. Choosing between them hinges on control, cost, and convenience. You’ll select concentrated formulas when you want fine-tuned dilution ratios for specific tasks: heavier dilutions for light maintenance; stronger mixes for stubborn grime. You leverage concentration differences to optimize chemistry and economy.
Ready mixes save time and reduce dosing errors; however, you trade off flexibility and often pay more per use. Monitor foam stability as you adjust ratios: too lean and foam collapses quickly; too rich and residue or run-off increases. Use marked measuring tools and test sprays on panels to confirm visual foam density, cling time, and rinse behavior before committing to a full vehicle application.
Vehicle Paint Sensitivity
How sensitive is your vehicle’s paint and what dilution will protect it best? You’ll assess paint hardness, clearcoat thickness, and contamination level. Then choose soap dilution accordingly. For soft-clearcoats or show cars, use a mild 1:50 to 1:100 ratio (soap:water) to maximize paint safety and minimize detergent aggressiveness.
Everyday, harder paints tolerate 1:25 to 1:50 for stronger cleaning power without visible gloss impact. Heavy grime on robust finishes can accept 1:10 to 1:20 briefly; then rinse and neutralize. Always test a small panel and watch for foaming residue; adjust as necessary. Use product-specific charts when available, measure precisely with graduated dispensers, and document settings so you reproduce safe, consistent results across vehicles.
Foam Thickness Adjustment
Want thicker, clingier foam or a lighter, faster-rinsing layer? You control that by adjusting soap dilution ratios and recognizing how foam output responds to pressure dynamics.
For clingy, lubricating suds, use concentrated mixes (e.g., 1:20 to 1:40 soap:water) to increase viscosity and film strength. Expect slower collapse and enhanced contact lubrication. For quick-rinse applications, choose leaner mixes (1:80 to 1:120) to reduce residue and speed drying.
Monitor foam output visually: dense ropes indicate too rich; airy beads mean too dilute. Use the pressure washer’s PSI and flow adjustments to fine-tune bubble size and adherence without changing chemistry. Match dilution to soil level and paint sensitivity. Then, verify coverage and dwell time before proceeding.
Mixing Procedure Steps
Curious how to dial in the right soap ratio for your foam cannon? Start by noting manufacturer-recommended dilution ranges: typically 1:20 to 1:100 depending on concentrate strength. Measure with a graduated bottle or syringe so you’re precise: for heavy grime use 1:20–1:40, for maintenance washes 1:80–1:100, and for general cleaning aim around 1:50.
Mix concentrate with clean water in the cannon bottle, agitate gently, and test spray on a small panel to assess foam density and dwell time. Adjust concentration incrementally; small changes yield big foam differences. Always follow mixing technique documentation and wear recommended PPE: gloves and eye protection as safety precautions. Rinse the bottle between products to prevent cross-contamination.
Storage And Shelf-Life
Now that you’ve got your dilution dialed in and tested on a panel, store mixed solutions and unopened concentrates with care to preserve performance and shelf-life. You’ll label each bottle with dilution ratio, date mixed, and intended use; that lets you track storage duration precisely.
Keep mixed soap refrigerated when possible and use within the manufacturer’s recommended window: typically 7–30 days depending on surfactant stability. For concentrates, respect printed expiration and avoid temperature extremes that accelerate degradation. Choose opaque, chemical-resistant containers and check container compatibility with alkali or acid-based formulas to prevent leaching or breakdown.
Rinse and dry foamer components after use to avoid residue buildup. Regular visual inspections for separation, odor, or cloudiness tell you when to discard and remix.
Frequently Asked Questions
How Does Foam Affect Wax or Sealant Bonding to Paint?
Foam can help or hinder wax bonding depending on foam chemistry and rinsing. If foam chemistry emulsifies oils and removes contaminants, you’ll get cleaner paint that improves wax bonding.
However, if foaming agents leave residues or over-dilute drying, they’ll interfere with adhesion and reduce longevity. You should rinse thoroughly, use pH-balanced foams, and perform a light decontamination step so wax or sealant bonds cleanly and yields a uniform glossy finish.
Can Foam Cannons Damage Delicate Trim or Decals?
Yes, foam cannons can harm delicate trim or decals if misused. You’ll avoid damage by using low-pressure settings, diluted foam, and short dwell times to prevent residue buildup that weakens adhesives. Rinse thoroughly to stop water spotting and detergent stains.
Test on a small area first, avoid high pH cleaners, and dry panels carefully. With proper technique, you’ll preserve trim and decals while still getting effective suds coverage.
Is Foaming Safe for Matte or Wrapped Finishes?
Yes, foaming can be safe for matte finish and wraps if you use foam safety-minded products and correct technique. You’ll choose pH-neutral, matte-safe shampoos, low-abrasion foam, and gentle dilution.
Apply thick, clinging foam to lift contaminants, dwell briefly, then rinse with low-pressure, controlled flow. Avoid high-pressure agitation, abrasive mitts, or waxy, gloss-enhancing chemicals that alter texture. Test a small area first to confirm compatibility.
How Do I Prevent Foam Residue in Colder Weather?
Use warmer mix water and shorten dwell time to prevent foam residue in colder weather. You’ll monitor foaming temperature effects and avoid icy film by diluting less and using a low-freeze, high-clarity detergent formulated for cold climates.
Boost rinse efficiency with higher-pressure, warmer rinse cycles and vertical rinsing paths to shed suds quickly. Wipe sensitive seams with a microfiber and park in sheltered, slightly warmed areas to finish residue prevention.
Can Foam Cannons Reduce Risk of Cross-Contamination?
Yes, foam cannons reduce cross contamination by creating a thick, lubricating foam barrier that loosens and traps dirt before you touch the surface. You’ll preload surfaces with detergent-rich suds; this minimizes direct mitt contact with grit and lowers swirl risk.
For foam safety, use proper dilution, pressure settings, and rinse protocols so residue won’t harm trim or paint. Visualize dense, clinging foam lifting contaminants away for safer, cleaner washing.
Conclusion
You’ve now got the tech specs and practical steps to get predictable foam from your sprayer. So, dial nozzle size, PSI and dilution to match soap concentration and paint sensitivity. Adjust for thicker suds on vertical surfaces and fragile finishes. Follow the mixing steps precisely, and store concentrates sealed and cool to preserve effectiveness.
Do this, and your foam will stay consistent, safe and efficient. It will deliver targeted cleaning without wasting product or risking the finish.