How to Remove Wax Buildup From Paint
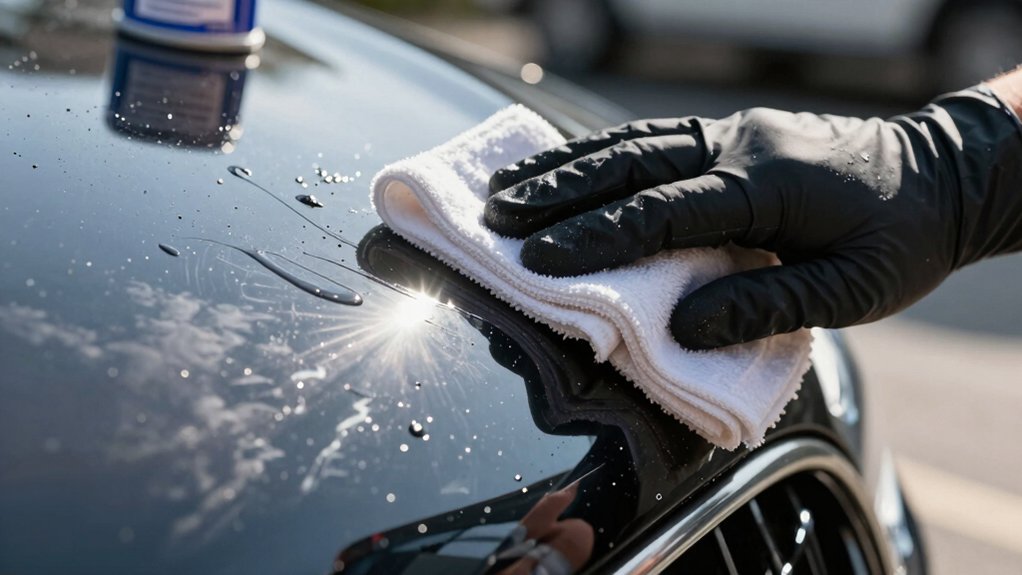
Work in cool, shaded conditions (50–80°F/10–27°C) and test a small panel first. Start with a citrus APC or pH‑balanced cleaner and plenty of agitation. If residue persists, step up to mineral spirits or naphtha; then neutralize and rewash.
For stubborn hardened wax, try a light vegetable oil spot, then clean. If you’ll clay, use a fine clay and lots of lubricant. Test again and use gentler passes on soft clear coats. Keep going for more tips.
Quick Overview
- Work in moderate temperatures (60–80°F / 16–27°C) and out of direct sun to avoid wax baking or smearing.
- Begin with mild cleaners (citrus APC or pH‑balanced soap) and test a small panel before full removal.
- Use mineral spirits or naphtha for heavier wax layers; then neutralize and thoroughly rewash the surface.
- For stubborn residues, soften with vegetable oil or peanut oil; then clean with solvent and wash.
- If claying, choose an appropriate clay grade. Use plenty of lubricant and test an inconspicuous spot first.
Wax Removal Temperature Chart
When should you remove wax for easiest results? You’ll get best wax removal when surface and air sit in the optimal temperature band: generally 60–80°F (16–27°C). Follow temperature guidance: avoid direct sun, work early or late, and keep humidity moderate so wax doesn’t flash-dry or remain tacky.
| Condition | Temperature Range |
|---|---|
| Optimal surface | 60–80°F (16–27°C) |
| Broad acceptable | 50–85°F (10–29°C) |
| Quick-remove timing | Immediate, 50–80°F (10–27°C) |
If it’s hotter than ~85°F, wax bakes and resists buffing. If colder than ~50–55°F, it thickens and smears. Cool misting and shaded areas rescue marginal conditions. Test a small panel before full removal.
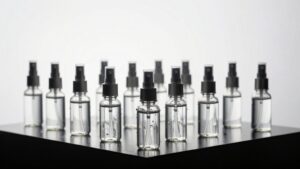
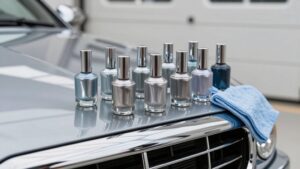
Recommended Wax Solvent Types
Now that you know the best temperatures for wax removal, pick solvents that match the wax type and paint condition to avoid damage. Choose mild solvents first; follow temperature considerations, and always run a test spot procedure before wide application. Balance solvent strength with surface compatibility and lubricant selection to protect clear coat and trim.
Use citrus-based APC or pH-balanced cleaners for light buildup; they’re gentle and aid clay bar compatibility. Try mineral spirits or naphtha for heavier coats; then neutralize and rewash. Vegetable or peanut oil works on hardened residues; clean thoroughly afterward. Reserve turpentine or stronger solvents for stubborn sealants; limit exposure.
Match solvent to paint type considerations and clay bar grades to prevent marring.
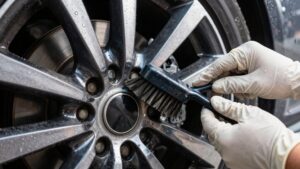
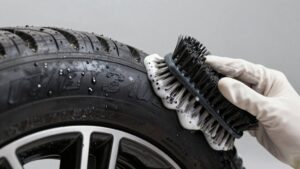
Clay Bar Compatibility Notes
Before you clay, check surface compatibility and choose the clay grade that matches how embedded the contaminants are. Use plenty of lubricant. Consider the paint type: soft clear coats need gentler clays. Always run a small test spot to confirm no marring.
Those simple checks keep the process effective and safe.
Surface Compatibility Check
Curious if a clay bar is safe for your paint? Check the surface methodically: wash thoroughly with Clean Slate and inspect under bright light for clear coat damage, heavy overspray, or loose paint. If you find peeling, deep scratches, or flaky clear coat, clay work’s an irrelevant topic until you repair those areas.
Test a small, inconspicuous panel with lubricant and a gentle clay pass; feel for smoothness and listen for squeakiness. Matte, vinyl-wrapped, or recently polished surfaces need extra caution; avoid aggressive clays. Document results and note product interactions to protect finish and data privacy of any vehicle records you track. If the test shows no marring, proceed with full decontamination using proper lubrication and technique.
Clay Bar Grades
Wondering which clay bar grade fits your paint? Pick a clay grade based on contamination level: fine for light fallout, medium for moderate buildup, and heavy or ultra for industrial or tar deposits. You’ll treat delicate clear coats gently; use fine grades and shorter passes. Harder grades remove stubborn particles but demand more lubricant and care to avoid marring.
Check clay bar brands for grade consistency. Some label “fine/medium/heavy,” while others use color codes. Match brand guidance to your paint’s condition and test a small area first. Maintain proper lubricant ratios during use; don’t skimp. Under-lubrication increases friction and risk.
After claying, inspect for residue. Then follow with your normal wash and preparation before waxing.
Lubricant Selection Guidance
Which lubricant should you pick for claying to get safe, effective results? Choose a product formulated for clay use: it should be slick, non-reactive, and rinse clean. Check lubricant color only as a quick visual cue—clear or light-colored lube shows contamination pickup. Deeply tinted oils can mask debris.
Evaluate viscosity level: medium to high viscosity gives longer glide and reduces clay dragging, while very thin sprays evaporate too quickly. Avoid solvent-heavy or oily dressings that leave residues interfering with subsequent waxing. Use enough lubricant to maintain a slippery film and reapply after a few passes.
Test on an inconspicuous panel to confirm compatibility with your clay grade and paint before treating the whole vehicle.
Paint Type Considerations
Different paint systems react differently to claying, so you should match your clay grade and lubricant to the finish. Softer single-stage paints and older clear coats need a gentler, low-aggression clay and plenty of slick lubricant. Modern factory urethanes or ceramic-coated finishes tolerate firmer clay; however, they benefit from repeat lubricant applications to avoid marring.
Assess your paint type before starting: single-stage, older two-stage, OEM urethane, refinish, or ceramic layer each demand different pressure and clay choice. Use very slick clay lube and light passes on softer finishes. On durable urethanes, you can increase clay firmness but keep strokes short and check frequently.
Don’t rely solely on wax solvent claims. Mechanical claying removes bonded contaminants safely when matched to paint type.
Test Spot Procedure
How will you know a clay bar and lubricant are safe for your paint? Begin with a defined test spot procedure: pick an inconspicuous panel, wash and dry it, then apply lubricant and make three short clay passes. Inspect the area for marring, loss of gloss, or residue.
If surface texture changes or hazing appears, stop and try a milder lubricant or different clay grade. Document results for each product and repeat on any differing paint types (matte vs. gloss). This surface compatibility check ensures you won’t damage clear coat or trim.
Proceed to full decontamination only after the test spot shows smooth glide, restored gloss, and no adverse reactions.
Frequently Asked Questions
Can Wax Buildup Damage Clear Coat Over Time?
Yes, wax buildup can cause clear coat damage over time. If layers trap dirt, moisture, or chemical residues, they create abrasive pockets and promote staining or softening of the clear coat.
Neglected buildup also hides defects and accelerates UV degradation by preventing proper inspection and maintenance. You should remove accumulated wax periodically using safe decontamination and gentle solvents. Then, inspect and protect the clear coat to prevent long-term harm.
How Often Should I Remove Wax Buildup?
You should remove wax buildup every 3–6 months, depending on exposure and product durability. Check hydrophobicity and paint feel monthly. If water sheets poorly or surface feels tacky, strip and reapply.
Frequent washing plus clay decontamination lets you wait longer; however, heavy sun, road grime, or layered products mean sooner removal. Use gentle solvents or APC snow foam methods. Always test a small area first to avoid damage.
Can I Remove Wax Buildup in Direct Sunlight?
You can, but avoid removing in sunlight because removing in sunlight increases risks of heat causing products to dry too fast, streak, or smear.
Work in shade or early morning so lubricants and solvents stay wet longer. Keep panels cool; use small sections, plenty of lubricant, and cool-down breaks. Test solvents on an inconspicuous area first.
If heat is unavoidable, use water spray to keep the surface cool and procedural control tight.
Will Waxing Again Trap Residual Solvents?
Yes, if surfaces still have wax residue or wet solvents, you’ll trap them under new wax, causing solvent entrapment and poor bonding. Always ensure paint is fully rinsed, dried, and decontaminated (clay-bar) after solvent use.
Test-spot any solvent; then wipe with clean microfiber and a mild surface cleanser. Only apply wax when no solvent smell or residue remains to ensure even adhesion and durable protection.
Is Wax Buildup Harmful to Plastic Trim?
Yes: wax buildup on plastic trim can cause issues. You’ll see dulling, uneven sheen, and possible staining. Repeated buildup may attract dirt that mimics clearcoat damage and accelerates weathering.
You should monitor removal frequency and clean trim during every wash cycle, using gentle solvents or dedicated trim restorers. Test products first, use nonabrasive methods, and restore trim protectant after cleaning to prevent recurring buildup and long-term degradation.
Conclusion
You’ve now got a clear, practical plan to remove wax buildup without damaging paint: check surface compatibility and paint type, pick the right solvent and clay grade, and use proper lubricant.
Start at the lower end of the temperature chart. Do a small test spot and adjust technique as needed. Work methodically and rinse thoroughly between steps.
If you’re unsure or the paint looks compromised, stop and consult a pro to avoid irreversible harm.