Interior Detailing Workflow Checklist
You’ll start by vacuuming and mapping materials. Test patches on hidden areas, then choose cleaners by fabric: dilute extractor for cloth, pH-balanced cleaners for leather, minimal water for microsuede.
Use appropriate microfiber piles; work from edges to center on dye transfer. Blot and rinse, then air-dry. Condition leather with thin coats and protect treated zones.
Document products, photos, and acceptance criteria. Continue for step-by-step procedures, tool lists, and troubleshooting tips.
Quick Overview
- Begin with inspection, test patches, and document stains, dye transfer, and materials before any cleaning.
- Vacuum and extract all loose debris, working top-to-bottom and removing floor mats for separate cleaning.
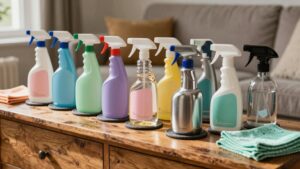
- Use material-specific cleaners and minimal water: cloth dilute/extract, leather pH clean + condition, microsuede low-water + brush.
- Remove dye transfer by testing removers, working edge-to-center, blotting, rinsing with damp microfiber, and air-drying.
- Condition and protect leather after dryness. Apply thin coats, verify uniform finish, and document products and acceptance criteria.
Fabric Care Comparison Chart
The Fabric Care Comparison Chart gives you a concise, side-by-side reference for cleaning and protecting every interior textile type: cloth, synthetics, microsuede, carpets, vinyl, and leather. This allows you to pick the right chemistry, tool, and procedure for each material. You’ll follow material-specific inputs: diluted soap or fabric-safe cleansers for cloth and synthetics; minimal moisture and directional brushing for microsuede; extractor shampoo for carpets; damp microfiber care for vinyl; and pH-balanced systems plus conditioners for leather protection.
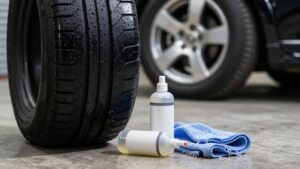
Test patches, vacuum first, and stage tools. Prioritize low-foam extractor soaps and enzyme pretreatments for organic stains; schedule protectants post-clean.
| Material | Primary Action |
|---|---|
| Cloth | Dilute clean + extractor |
| Leather | pH clean + condition |
| Microsuede | Minimal water + brush |
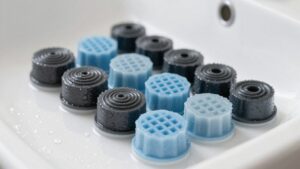
Microfiber Towel Pile Guide
After choosing the correct chemistry for each fabric, you’ll need the right microfiber pile for effective cleaning and finishing. You’ll select pile height and density based on surface sensitivity and soil load: low-pile for glass and smooth plastics; medium for dashboards and vinyl; high-pile for plush carpets and upholstery; and waffle or loop for drying.
Use the fabric care comparison to match pile type to material and avoid damage or residue transfer.
- Low-pile: tight weave, minimal lint, glass and touchscreens.
- Medium-pile: balanced absorption, dashboards, vinyl, trim.
- High-pile: deep soil pickup, carpets, textured fabrics.
- Waffle/loop: high absorbency, drying and final wipe.
Rotate towels and launder per manufacturer specs to maintain performance.
Leather Dye Transfer Protocol
Start by identifying all panels and seams with dye transfer so you know the scope of work. Test dye compatibility on an inconspicuous leather patch. Then choose a cleaner and transfer remover formulated for that leather type.
After removing transfer, neutralize and apply a proper leather conditioner and protector to restore flexibility and prevent re-staining.
Identify Affected Areas
How will you pinpoint leather dye transfer quickly and accurately? Start with a systematic visual scan under strong, angled light to identify affected areas: seams, seat bolsters, belt edges, and floorboard contact points. Use a magnifier for subtle staining and note color, location, and size on your intake checklist.
Gently rub a dry white microfiber to distinguish surface residue from penetrated dye. Photograph each site for documentation and technician handoff. Avoid treatments until you test dye compatibility in an inconspicuous spot; record product, dwell time, and reaction.
Map contaminated zones on a schematic so you can prioritize removal steps and material-specific protocols. This disciplined approach reduces guesswork and prevents unnecessary cleaning that could worsen transfer.
Test Dye Compatibility
Why test dye compatibility before treating leather dye transfer? You need to confirm that your chosen solvent or cleaner won’t alter leather color, finish, or finish sheen. First, isolate a hidden area and apply a small amount of product; this is the test dye step. Wait recommended dwell time, blot with a white microfiber, and inspect for color lift, staining, or finish softening.
Record results and compare to untreated control to complete a compatibility check. If transfer occurs or finish changes, stop and choose an alternative method. Repeat testing with any new product or stronger concentration. Document all test locations, products, and times so you can justify the chosen protocol and avoid unintended damage during full-scale leather dye transfer remediation.
Select Appropriate Cleaner
After verifying compatibility in a hidden area, choose a cleaner that matches the leather type, dye transfer severity, and test results. You’ll select appropriate cleaner based on tannage (aniline, semi-aniline, pigmented), surface finish, and colorfastness data from your test patch. For light transfers, use pH-neutral or mild solvent cleaners. For heavy transfers, pick formulated dye-transfer removers rated for automotive leather.
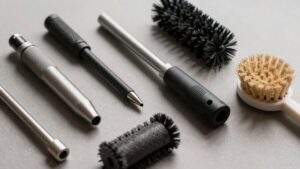
Consult a fabric care comparison chart to compare solvent strength, pH, residue, and recommended dwell times. Prepare dilution, application tools (soft brush, microfiber, cotton swabs), and extraction method before proceeding. Work in small sections; document product and concentration. Re-test if results differ from expectations. Stop immediately if dye lifts excessively or leather darkens; reassess product choice.
Apply Transfer Remover
Ready to remove dye transfer from leather? You’ll isolate the affected area, test a small inconspicuous spot, and confirm colorfastness before applying any product. Use a purpose-formulated transfer remover; don’t substitute strong solvents.
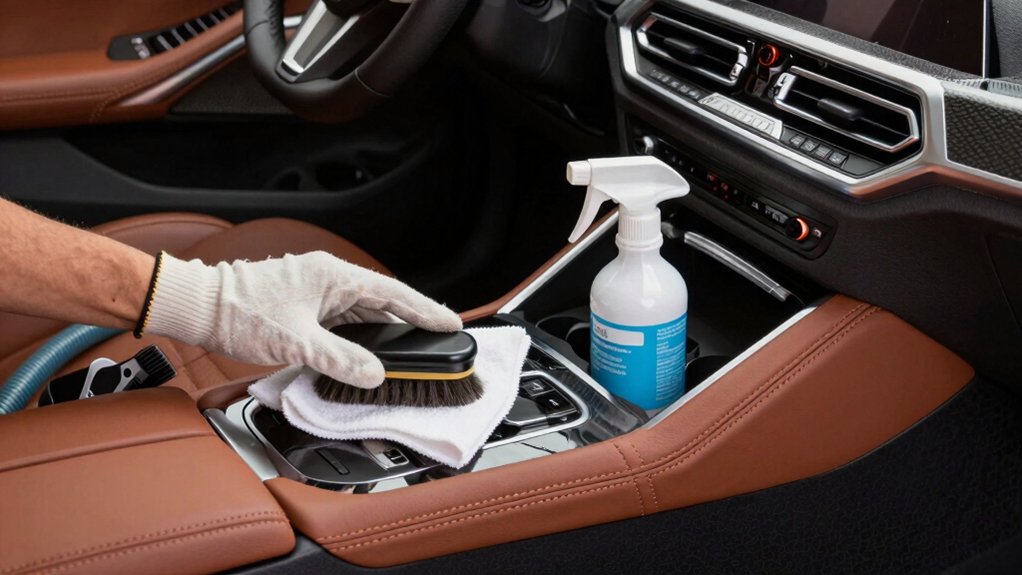
Apply sparingly with a microfiber or cotton swab, working from the outer edge toward the center to avoid spreading. Agitate gently with a soft-bristled brush or fingertip pressure. Then blot—never rub—lifting loosened dye with a clean towel.
Repeat short cycles, retesting frequently. If adjacent fabric exists, protect it and follow fabric care guidelines to prevent damage. Rinse residue with a damp microfiber and neutral pH cleaner to remove chemical traces.
Allow to air-dry fully, then inspect under good light before proceeding to conditioning.
Condition And Protect
Once you’ve confirmed the dye transfer is removed and the leather is dry, condition the affected area with a pH-balanced leather conditioner formulated for dyed hides to restore oils and flexibility without altering color. Work small sections with a soft applicator; apply thin, even coats and allow absorption between passes.
Monitor adjacent fabric for potential fabric wear or stain migration. Isolate treated zones with masking if necessary. Use a low-lint microfiber to remove excess product and buff to a uniform finish. For interiors with prior moisture issues, coordinate with mold remediation steps: ensure substrates are fully dry and treated before conditioning.
Record product used, dilution, and dwell times for repeatability and warranty compliance. Dispose of waste per local regulations.
Inspect And Repeat
With the conditioned leather dry and excess product removed, inspect the treated area under strong, even light to confirm dye transfer is gone and the finish looks uniform. Check adjacent seams, stitching, and fabric interfaces for residual color, surface haze, or softening. You’ll inspect repeat cycles as needed: document findings, photograph areas, and note products used and dwell times.
If transfer persists, repeat targeted cleaning and dye-neutralizing steps, allowing full drying between passes. When leather is stable, perform a light protection coat and re-evaluate tack and sheen. Verify that nearby fabric care needs were met and that no dye migrated to carpets or upholstery.
Finalize by recording acceptance criteria met, client approvals, and recommended follow-up intervals.
Frequently Asked Questions
Do I Need to Disconnect the Battery Before Deep-Cleaning Electronics?
You don’t always need to disconnect the battery before deep cleaning electronics, but you should for anything with exposed wiring, aftermarket devices, or when using moisture near consoles.
Power down systems, remove keys, and isolate airbags or modules if you’ll be applying liquids or compressed air. Use minimal dampness, insulated tools, and avoid connectors.
If unsure, disconnecting the battery is the safest option; it prevents shorts, data loss, or accidental airbag deployment during your deep clean of electronics.
How Long Should I Wait Before Using Treated Upholstery?
You should wait at least 4–6 hours before light use and 24–48 hours for full fabric curing, depending on product instructions and ventilation. For water-based cleaners, you can usually sit after 4–6 hours. For solvent-based or heavier protectants, allow 24 hours and up to 48 for complete fabric curing and maximum performance.
Always check manufacturer guidelines. Ensure the interior is dry and well-ventilated before regular use.
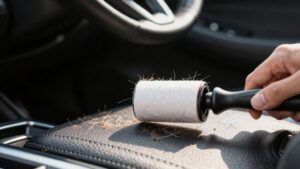
Can Pets’ Hair Be Fully Removed Without Specialty Tools?
You can’t always fully remove pet hair without specialty tools, but you can get most of it. Use vacuum attachments, compressed air, rubber squeegees, and damp microfiber towels to loosen and lift fur from carpets, upholstery, and crevices. Work methodically, adjust seats, and repeat passes.
For embedded hair in fabric or stubborn areas, specialty tools such as motorized brushes, rubber pet brushes, or turbo nozzles save time and deliver a more complete result.
What Ventilation Is Required During Odor Removal Treatments?
You need active ventilation and controlled airflow during odor removal treatments: ventilate with open doors/windows plus a fan or extractor to achieve 6–12 air changes per hour. Guarantee intake/exhaust paths avoid reintroducing contaminants.
Monitor humidity (keep post-treatment ventilation until safe odor and VOC levels are verified.
Do Warranties Cover Damage From Aftermarket Cleaning Products?
Do warranties usually cover damage from aftermarket cleaning products? No, most vehicle warranties won’t cover damage caused by aftermarket cleaners unless you prove the product was appropriate and used per instructions.
You should document before-and-after conditions; keep receipts; and consult the warranty terms. If you used professional-grade aftermarket cleaners, get vendor data sheets and technician notes. Manufacturers often require OEM products or approved alternatives to validate coverage.
Conclusion
You’ve got a clear, practical workflow to handle interior dye transfer and fabric care. Follow the chart and pile guide to pick the right towel and cleaning method. Then isolate affected areas and test compatibility before applying any product.
Use the correct cleaner and transfer remover; work methodically. Finish by conditioning and protecting surfaces. Inspect results and repeat targeted steps as needed until dye is fully removed and materials are preserved.