Interior Plastics and Trim Materials Reference
You’ll pick ABS by function: 0.5–2 mm for flexible trim, 2–5 mm for dash panels, and 5–10 mm where impact or load matters. Thinner saves weight; thicker boosts life. Torque fasteners with a calibrated driver to avoid distortion and clipped panels. Match torque to fastener type and ABS thickness.
For scratches, identify depth, clean, fill or weld, then polish and feather with compatible coatings. Keep going and you’ll get step-by-step inspection and repair parameters.
Quick Overview
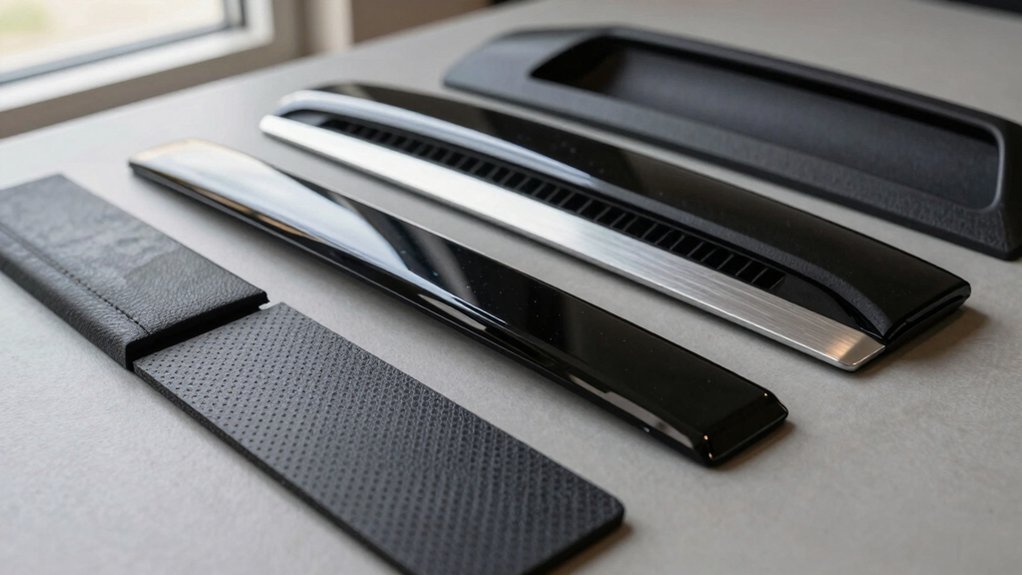
- Common interior trim polymers: ABS, PVC, polypropylene, and PC/ABS blends are chosen for formability, impact resistance, and finishability.
- Select ABS thickness based on function: 0.5–2 mm for flexible trim; 2–5 mm for dash panels; and 5–10 mm for load-bearing parts.
- Identify scratch type and finish by angled light and fingernail test to determine repairability and method.
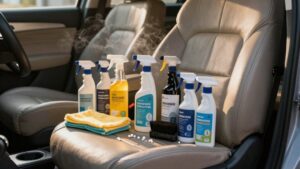
- Use substrate-compatible cleaners, fillers, and adhesion promoters. Document materials and solvents before repair.
- Apply calibrated torque and incremental tightening for fasteners to prevent panel distortion, cracked clips, and loose trim.
ABS Plastic Thickness Comparison
How do you choose the right ABS sheet thickness for an interior trim application? You evaluate ABS thickness against mechanical needs, formability, and cost. Use 0.5–2 mm for max flexibility and detailed thermoforming. Use 2–5 mm for the best trim comparison balance of strength and processing. Use 5–10 mm where impact resistance and load-bearing dominate.
Consider environmental exposure and repeated loading when opting thicker. Thinner options cut weight and material cost; thicker sheets extend service life.
| Thickness Range | Key Benefit | Typical Use |
|---|---|---|
| 0.5–2 mm | Flexibility, easy forming | Detailed trim, overlays |
| 2–5 mm | Balanced strength/formability | Dash panels, moderate load |
| 5–10 mm | Impact resistance | Structural trim, mounts |
Trim Fastener Torque Chart
Why does correct torque matter for trim fasteners? You’ll prevent panel distortion, cracked clips, and loose trims by following a torque chart tuned to material and ABS thickness. Use a calibrated torque driver and refer to specified values for clip type, screw size, and substrate.
- Determine substrate and ABS thickness; then pick the matching torque chart row.
- Verify fastener type (push-pin, screw, rivet) and seat condition; adjust torque within chart tolerance.
- Apply torque in incremental steps and recheck alignment to avoid stress concentrations.
- Record applied torque and any deviations from the torque chart for warranty and quality control.
Follow this procedure and you’ll maintain fit, finish, and long-term retention; without damaging trim fastener systems.
Surface Scratch Repair Tips
First, identify whether the mark is a surface scratch, abrasion, or gouge so you can choose an appropriate repair path. Then, verify the finish material (ABS, PVC, polypropylene, leather, vinyl, etc.); clean the area thoroughly, and select a compatible filler or polishing method.
Finally, apply scratch-filling techniques. Then, polish and blend to restore uniform texture and sheen.
Identifying Scratch Types
Ever wondered whether that line on your dash is a shallow surface abrasion or a deeper gouge that needs part replacement? When identifying scratch types, start with visual inspection under angled light to reveal depth, width, and direction. Use a fingernail test: if the nail catches, it’s likely beyond clear-coat level. Document length and proximity to edges or seams.
Next, test repairability with a micro-abrasion on an inconspicuous spot; superficial scratches will polish out, deeper ones will expose substrate. Record whether the defect interrupts texture or color uniformity; this affects repair method choice. While assessing finish material will be covered next, note here that different plastics respond differently to sanding and heat-based smoothing. Don’t assume universal techniques.
Assessing Finish Material
After you’ve identified scratch depth and whether the substrate shows, the next step is to determine the finish material so you can choose the correct repair method. You’ll inspect texture (gloss, grain), coating type (painted, painted-over, pigmented plastic), and base polymer — PP, PVC, ABS, PC, PE — since adhesion, heat tolerance, and solvent choice differ.
Use noninvasive tests: solvent swabs, heat probe, and visual grain matching. Record finish gloss level and note trim aesthetics requirements: color match, seam visibility, and tactile feel. Select repair technique based on assessing finish: filler and repaint for hard coatings, melt/blend for thermoplastics, or colorant-only for surface stains.
Prepare to document material and chosen approach before proceeding.
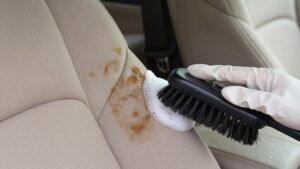
Cleaning Before Repair
Before you start any scratch repair, thoroughly clean the area so contaminants won’t interfere with adhesion or masking. Use a lint-free cloth and a mild solvent appropriate for the identified substrate (isopropyl alcohol for most ABS/PC; a plastic-safe degreaser for PVC/PP). Work from the center of the damage outward, and repeat until the surface is visibly free of wax, oils, and particulate.
After initial decontamination, verify substrate compatibility and document solvent used. Follow cleaning pre-repair protocols that match surface prep standards: grit-free wiping, approved dwell times, and temperature control. Remove loosened micro-debris with compressed air or a clean tack cloth. For porous or textured trims, use soft brushes and repeat solvent cycles.
Finish by isolating the area to prevent recontamination before proceeding to masking or subsequent repair steps.
Scratch Filling Methods
How deep is the scratch and what substrate are you working on? Begin with a precise scratch assessment: determine depth, width, and whether the substrate is PP, ABS, PVC, polycarbonate, or coated trim. For shallow surface scratches, use compatible fillers, such as thin liquid polish or microfiller, applied minimally to avoid altering finish texture.
For deeper gouges on PP or ABS, select a plastic welding rod or two-part epoxy formulated for that polymer; roughen edges, fit filler, and cure per product spec. For PVC and polycarbonate, use UV-stable compounds. Always match thermal expansion properties to prevent future cracks.
After cure, trim excess with a sharp blade and fine abrasives to restore contour before final surface treatment. Document materials and cure conditions for repeatability.
Polishing And Blending
Why blend carefully? You’ll avoid mismatched sheen and substrate damage by controlling heat, pressure, and abrasive grade. Start with progressive polish techniques: low-speed rotary with 2000–3000 grit pads; then move to micro-abrasive paste and finishing compound. Match compound aggressiveness to material: ABS and PC tolerate more, while PVC and vinyl need gentler action.
Use solvent-safe cleaners between steps to inspect color and texture. For edges, employ feathering blending approaches: taper filler transitions with fine sandpaper; then micro-polish to restore gloss without overcutting original contour. Keep tooling cool, use light passes, and test on hidden areas.
Record process parameters (pad type, RPM, dwell time) so you can replicate results and reduce the risk of distortion or gloss mismatch.
Protective Coating Options
Which protective coating will best restore and shield a repaired interior trim surface depends on substrate, expected wear, and desired sheen. You’ll select coatings tailored to material: flexible urethane for polypropylene or vinyl; hard clear acrylics for ABS and polycarbonate blends; and polyester-based finishes for painted trim.
Prepare the surface with compatible adhesion promoter and degreasing. Sand progressively to feather edges before coating. Apply thin, even coats, allowing recommended flash times to avoid runs. Test coating durability with abrasion and solvent spot checks; recoat or sand/reprime if failures appear.
Match sheen to surrounding trim (matte, satin, gloss) and use UV-stable formulas where sunlight exposure is likely. Keep safety data sheets and follow cure schedules for optimal performance.
Frequently Asked Questions
Which Plastics Are Safest for Children’s Car Seats?
You should choose safe plastics like polypropylene, polyethylene, and high-grade polycarbonate for children’s car seats; they’re durable, chemically stable, and resist heat without off-gassing.
Avoid low-quality PVC blends and some ABS grades if you’re worried about odor concerns or plasticizers. Inspect labels for BPA- and phthalate-free certifications. Look for low-VOC or odor-tested ratings, and prefer molded, well-ventilated designs to minimize emissions and long-term exposure.
Can Trim Materials Be Recycled Curbside?
Mostly no; you’ll find curbside programs rarely accept mixed trim materials. Recycling aesthetics and odor emissions concerns make sorting and processing automotive trims difficult. Composites, bonded fabrics, adhesives, and coated plastics contaminate streams.
You can curb contamination by separating hard plastics (PP, PE, ABS) if your local program accepts them. However, vinyl, foam, fabric, and mixed laminates usually require specialized recycling or manufacturer take-back schemes. Check local rules.
How Do Additives Affect Plastic Odors in Cabins?
Additives change cabin odors by interacting with base polymers and creating volatile byproducts. You’ll notice this when additive interactions produce low‑molecular VOCs. You’ll detect odor only if concentrations exceed human odor thresholds. Therefore, formulation and migration rates matter.
Stabilizers, plasticizers, or flame retardants can increase emissions or mask smells. Antioxidants and scavengers can reduce them. You should test real parts at service temperatures to quantify emissions versus threshold limits.
Are Any Interior Plastics Antimicrobial by Default?
No, most plastics aren’t antimicrobial by default. You’ll find some antimicrobial plastics formulated with biocidal additives or coatings to inhibit microbes; base polymers like PP, PVC, ABS, polycarbonate, and polyethylene lack inherent antimicrobial activity.
Odor-causing additives can promote microbial growth if they leach or nourish microbes. Therefore, manufacturers add antimicrobials or use non-nutritive stabilizers. Specify treated grades or verified biocide systems for antimicrobial performance.
Do Temperature Changes Cause Interior Plastics to Off-Gas?
Yes, temperature changes increase temperature induced off gassing from interior plastics. When cabin heat rises, materials like PP, PVC, ABS and polyurethane emit more volatile organic compounds; cooling slows emissions.
Additives influence cabin odors significantly: plasticizers, stabilizers and flame retardants volatilize differently, altering smell intensity and composition. You should minimize heat exposure, ventilate after high temperatures, and choose low-VOC materials or treated trims to reduce odor and emissions.
Conclusion
You’ve learned how to identify scratch types, assess finish materials, and choose appropriate filling and polishing methods for interior plastics and trim.
Before repairing, clean and confirm substrate: ABS or painted trim. This will help in picking compatible compounds and torque-specified fasteners. Use graded abrasives, controlled polishing, and selective blending to restore surface geometry while preserving texture.
Finish with a protective coating matched to the original material to maximize durability and resist future abrasion.