Iron Remover How to Use Safely
When using iron remover, you’ll wear chemical-resistant gloves, sealed goggles, and a respirator if ventilation’s poor. Then test your water for iron type, concentration and pH.
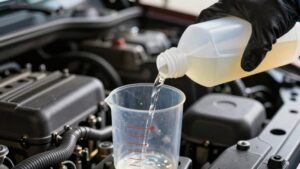
Dilute product per its label in a labeled container. Add acid gradually to reach a neutral rinse pH (7.0–7.5) using titration-derived dose calculations. Circulate and recheck pH, and dispose rinsate per local rules.
Follow documented steps, log results, and continue for more detailed procedures and safety tips.
Quick Overview
- Wear chemical-resistant nitrile gloves, sealed goggles, and a respirator if ventilation is poor to prevent skin, eye, and inhalation exposure.
- Test feed water pH and choose an iron-removal media whose pH operating range and capacity match your water chemistry.
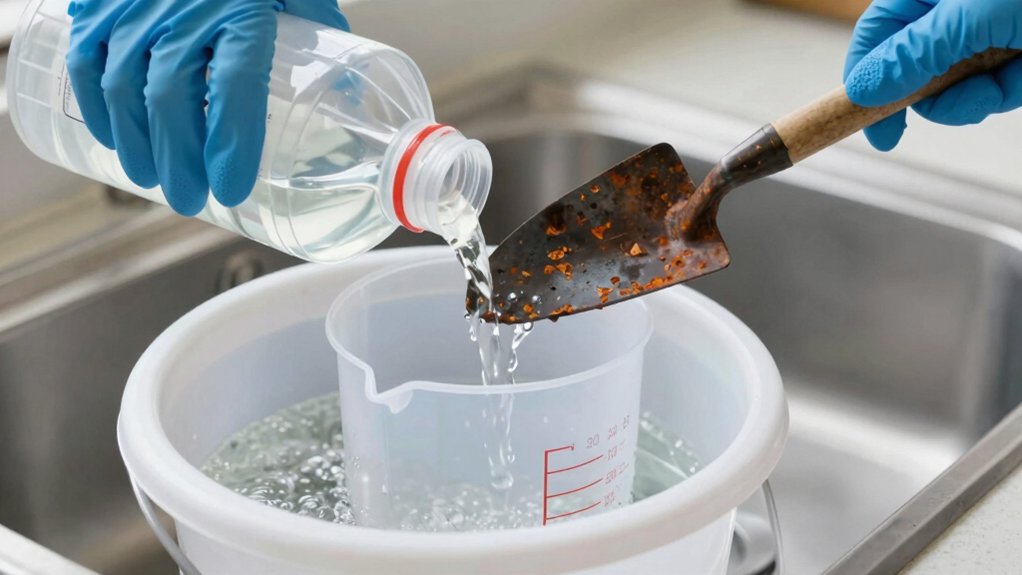
- Follow the product’s dilution table and mix acid or cleaner in a labeled container. Add chemicals gradually while stirring.
- During rinses, measure rinse-water pH and dose acid incrementally to reach neutral pH 7.0–7.5. Document volumes and readings.
- Rinse and dispose of wash liquids per local regulations. Keep eyewash/neutralizer nearby and log procedures and safety measures.
Iron Concentration Comparison Chart
The Iron Concentration Comparison Chart gives you a concise, side-by-side view of how different media and products handle various iron forms: ferrous (Fe2+), ferric (Fe3+), iron oxide (Fe2O3), and organic/tannin-bound iron. It also includes their capacity, pH operating ranges, and any special removal strengths (like manganese).
You’ll use the chart to compare iron removal efficiency and media capacity quickly. This will help you match system needs to expected contaminants and pH. Focus on products that list capacity and active manganese removal if that’s a priority. Note organic-targeting media for tannin iron. Select media whose pH range matches your feed water to preserve performance and compliance.
| Media | Capacity | pH Range |
|---|---|---|
| MetalEase-AS™ | ≥312,000 mg/cu.ft. | 5–9 |
| GreensandPlus | ≥16,000 mg/cu.ft. | 6.2–8.5 |
| Birm® | ≥566 mg/cu.ft. | 6.6–8.0 |
PPE and Dilution Table
Having compared iron-removal media and their pH profiles, you now need practical guidance on personal protective equipment (PPE) and mixing dilutions to handle iron remover safely. You’ll follow PPE safety protocols: chemical-resistant gloves, splash goggles, and a respiratory mask when ventilation is poor. Use coveralls or an apron for skin protection.
Consult the product’s dilution table for correct concentrations; stronger mixes speed reaction but increase exposure risk. Prepare mixes in a dedicated, labeled container and never measure by eye. Rinse equipment and dispose of rinsate per local regulations. Keep an emergency eyewash and neutralizer ready.
- Gloves: nitrile, chemical-resistant
- Eyes: sealed goggles or face shield
- Respiratory: NIOSH-rated mask if indoors
pH Adjustment Procedure
Before adjusting pH, test your water so you know the starting value and can accurately calculate the acid dose required. Choose a compatible, safe acid and add it gradually while mixing and circulating the solution to prevent localized over-acidification.
Keep measuring as you go until you reach the target pH. Then document the final reading and volumes used for compliance.
Test Water pH
Why check your rinse water’s pH now? You need to test water immediately after rinsing to confirm pH neutrality and ensure residues won’t harm finishes. Use calibrated test strips or a handheld meter; follow manufacturer instructions for sampling and calibration.
Collect water from multiple panels to represent the entire job. Avoid contaminated drains, and record readings. If readings deviate from neutral, pause further treatment and re-rinse affected areas until readings stabilize. Maintain gloves and eye protection while sampling.
Log pH results with time, product used, and ambient conditions for compliance and quality control. Consistent testing reduces the risk of etching, spotting, or unintended chemical interactions during iron removal procedures.
Calculate Acid Dose
How do you determine the correct acid dose to safely neutralize rinse water after iron removal? Start by measuring rinse-water pH with a calibrated meter immediately after rinsing. Record the volume of collected rinse water.
Use the acid’s titration data (supplier sheet) to calculate the milliliters required to shift your measured pH to target 7.0 to 7.5. Perform the calculation: required moles of H+ = buffer capacity × volume × ΔpH. Then convert to acid dose using concentration.
Always add acid to water incrementally, mixing and rechecking pH after each small addition. Wear PPE and neutralize any over-acidified water by adding base per manufacturer guidance. Log measurements and dose for compliance and repeatability.
Consult local disposal rules for treated rinse water.
Choose Safe Acid
Which acid should you pick to safely bring rinse water back to neutral? Choose a weak, food-grade acid like diluted acetic or citric acid; they lower pH predictably and rinse away without harming clearcoat when used at calculated doses. You’ll avoid strong mineral acids and industrial acids that are inappropriate for vehicle finishes.
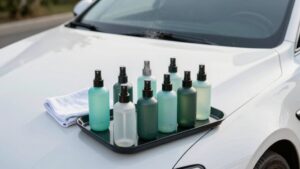
Match the acid choice to your calculated dose and to material compatibility. Document concentration and neutralization targets for compliance. Don’t confuse this with an unrelated topic such as cosmetic chemistry formulations. Vehicle rinse pH control is strictly performance and safety-driven.
Always store acids in labeled, corrosion-resistant containers. Wear appropriate PPE and have neutralizing buffers and spill procedures ready. Follow local disposal and dilution regulations precisely.
Add Acid Gradually
With your acid choice and target concentrations documented, add the acid gradually to the rinse water while monitoring pH so you can reach neutral without overshooting. Start with small, measured aliquots, mix thoroughly, and measure pH after each addition.
You’ll work methodically: prepare calibrated dispensing tools, record volumes, and maintain PPE. Add acid in repeatable increments, wait 30–60 seconds for equilibration, then test with a calibrated meter or reliable strips. If pH edges too low, pause and dilute with clean water rather than attempting correction with base.
Keep a log of additions and resulting pH for traceability and regulatory compliance. Dispose of any excess adjusted solution per local regulations. Never add concentrated acid directly to the vehicle or surface.
Mix And Circulate
Begin by circulating the adjusted rinse solution gently but continuously so the acid you added distributes evenly throughout the reservoir. You’ll want a low-shear pump or mechanical stirrer running for at least 2–3 minutes after each addition to reach homogeneity.
Follow clear mixing guidelines: add small aliquots, allow full circulation between doses, and log volumes and times. Wear gloves and eye protection and keep splash containment ready as part of safety considerations. Monitor temperature and avoid vigorous agitation that can entrain air or aerosolize the solution.
After circulation, secure all fittings and check for leaks before returning the system to service. Treat every adjustment as a controlled procedure: document actions, limit access, and confirm all personal protective equipment is in use.
Recheck pH Levels
Why recheck pH now? You’ve just rinsed away the iron remover after its dwell time. So you need to recheck pH to confirm safe surface chemistry. Use calibrated strips or a handheld meter on a wiped, damp panel area.
Verify neutralization by comparing readings to the expected neutral range (pH 6.5–7.5); if readings are alkaline, rinse again and retest. Record each measurement and corrective action for compliance. If pH remains high after two rinses, consult product guidance or dilute neutralizer per manufacturer instructions before reapplying.
Do not proceed to drying, polishing, or sealing until you verify neutralization. This prevents coating failures and material damage and ensures your iron removal step is compliant and safe.
Frequently Asked Questions
Can Iron Remover Damage Aftermarket Trim or Decals?
Yes, if misused, iron remover can harm aftermarket trim and decals. You’ll avoid IR impact by keeping the product wet, working in small sections, and rinsing before it dries.
Use minimal spray on towels rather than direct saturation; wear gloves, and don’t scrub decals or soft trim. Test a hidden area first: if color, finish, or adhesive softens, stop and rinse immediately to protect decal safety.
How Long Before Reapplying Wax or Sealant Post-Treatment?
You should wait 24–48 hours before reapplication; that’s the recommended how long and reapplication timing.
After rinsing and drying, allow the paint to fully off-gas and surface residues to stabilize. If you used a polish or paint cleaner after decontamination, wait at least 24 hours. For bare paint after only iron remover, 24 hours is usually sufficient; 48 hours if conditions were humid or cold.
Then apply wax or sealant per product instructions.
Can Iron Remover Be Used on Glass and Mirrors?
Yes, you can use iron remover on glass and mirrors, but you’ll follow safety steps: wear gloves, test a small area, and avoid letting the product dry to prevent glass safety issues and mirror staining.
Work in small sections. Keep the surface wet, rinse thoroughly before it dries, and then dry immediately. Don’t scrub hard; use a gentle microfiber and reapply sealant or glass protection after treatment if needed.
Is Iron Remover Safe for Alloy Wheels With Clear Coat?
Yes, you can use iron remover on clear-coated alloy wheels if you follow iron remover safety and clear coat compatibility steps. You’ll wash and rinse wheels first. Wear gloves, work in small sections out of direct sun, and keep the product wet.
Spray, let dwell 1–2 minutes, agitate gently with a soft brush or towel, then rinse thoroughly before it dries. Test a hidden spot first to confirm compatibility.
How Should I Dispose of Leftover Iron Remover Solution?
You should follow local hazardous-waste disposal methods: don’t pour leftover iron remover down drains or onto soil. Contain unused product in its original, labeled container, seal it, and take it to a municipal hazardous-waste facility or scheduled collection event.
Document disposal per local regulations to reduce environmental impact. For small amounts, absorb with inert material (kitty litter), bag, and dispose via hazardous-waste guidance; never mix with household trash.
Conclusion
You’ve covered the essentials for safely removing iron: compare concentration, wear the right PPE, and follow the dilution table. Test your water pH, calculate an appropriate acid dose, pick a safe acid, and add it slowly while you mix and circulate.
Recheck pH to confirm levels are within the recommended range and adjust if needed. Stay compliant with label and local regulations, document your steps, and don’t rush. Safety and accurate dosing prevent damage and exposure.