Paint Protection Application Checklist
Choose film thickness (4–6 mil for city use, 7–8 mil for balanced protection, 8.5–12 mil for extreme); then confirm panel coverage.
Trim to panel lines leaving 2–3 mm; heat gently.
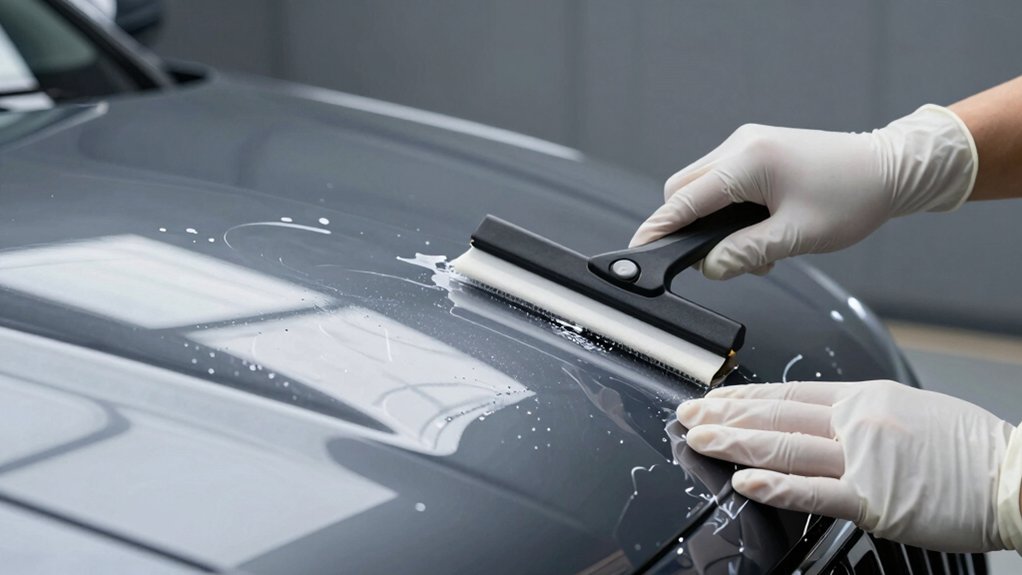
Stretch only the edge and tuck for a 2″ seamless finish. Squeegee center-to-edge and re-pass edges firmly.
Ensure surface and ambient temps are 15–32°C with infrared checks across panels and edges. Log readings and correct any outliers. Continue for full application steps and troubleshooting.
Quick Overview
- Verify ambient and surface temperatures are within 15–32°C (60–90°F) using an infrared thermometer and multiple readings across each panel.
- Choose film thickness (4–6, 7–8, or 8.5–12 mil) based on protection needs and installer skill level.
- Trim film to panel lines, leaving a 2–3 mm wrap allowance. Heat gently and stretch only the film edge when tucking.
- Squeegee from center to edge. Re-pass edges with firm pressure and tack. Then inspect and reheat or reapply tack where edges lift.
- Maintain a dust-free, shaded bay with controlled humidity. Log temperature readings and recheck after any heat tool or sun exposure.
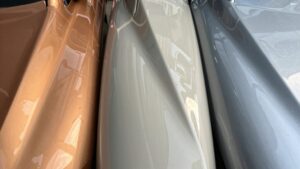
PPF Thickness & Coverage Chart
Which thickness should you pick for your paint protection film? You’ll match thickness to use: daily city drivers favor 4–6 or 7–8 mil for balance. High-speed, off-road, or luxury cars need 8.5–12 mil. Consider impact resistance, conformability, price, and installation nuances. Thicker film raises protection but demands advanced technique and temp control.
| Thickness | Protection | Install note |
|---|---|---|
| 4–6 mil | Light–moderate | Easiest, very flexible |
| 7–8 mil | Moderate–high | Balanced; common choice |
| 8.5–12 mil | High–extreme | Challenging; needs pro skill |
Measure panels. Choose self-healing topcoat when desired. Plan for 24–48 hour cure and edge attention during final squeegeeing.
2″ Seamless Edge Rule
How do you achieve a truly seamless edge? You follow the seamless edge rule ideas with precise steps: control overlap, finish edges, and respect edge wrapping considerations. Clean, dry surface; measure and cut with minimal margin. Position film wet; then apply tack solution to initiate adhesion. Use soft squeegee center-out; finish with hard-edge to lock edges.
- Trim to follow panel lines; leave 2–3 mm for wrapping.
- Heat gently; stretch only the film edge; tuck into seams.
- Squeegee from center to edge; then re-pass edge with firm pressure and tack.
- Inspect for lift; reapply tack or heat; and smooth until edge lays flat.
You’ll get a low-profile, durable finish when you work methodically.
Surface Temperature Limits
Check and record surface temperature before you start: aim for an ideal application range of about 15–32°C (60–90°F). Avoid working below the minimum threshold where adhesives won’t bond properly. Do not exceed the maximum that makes the film overly soft or tacky.
Ideal Application Range
Wondering when to install PPF? Choose an ideal application range of 15–32°C (60–90°F) to ensure temperature stability and manage surface sensitivity. Work when ambient and panel temperatures match to minimize expansion or contraction during placement.
Avoid direct sunlight, rapid temperature swings, or hot panels from recent driving; those increase tack and distortion risk. Check with an infrared thermometer: aim for steady readings across each panel before positioning film. If panels are slightly cool, let them equilibrate indoors; if warm, wait until they drop to range.
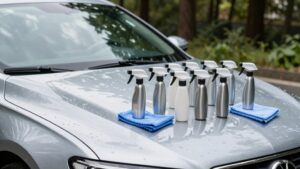
Maintain controlled humidity and a dust-free bay. These steps help adhesive lay flat, squeegee work predictably, and edges adhere cleanly without stretching or trapping moisture.
Minimum Temperature Threshold
Why should you never apply PPF below about 15°C (60°F)? Because film adhesive firms, becomes brittle, and won’t conform properly. You should verify surface temperature with an infrared thermometer and confirm temperature stability before starting. If surface or ambient drops near the minimum, postpone to maintain adhesion and reduce installation defects.
Work only when ambient comfort and workshop heating keep both surface and air steady. Sudden drafts or cold doors ruin tack. Prep steps: wash, clay, alcohol wipe must occur at the same stable temperature to avoid condensation. During positioning, use slip and tack solutions sparingly; cold reduces their effectiveness.
If you must work near the threshold, limit panel exposure time, keep tools warm, and recheck temperatures regularly to ensure consistent results.
Maximum Temperature Limit
Just as working below about 15°C causes the adhesive to firm and resist conforming, high surface temperatures create their own set of problems you need to avoid. You’ll want to keep panel surfaces below a maximum temperature of about 32°C during prep and installation. Hotter surfaces soften the adhesive excessively, promote premature slip-solution evaporation, and increase susceptibility to stretching and edge lifting.
Control the installation environment by shading the car, using climate control or fans, and scheduling work for cooler hours. Measure surface temperature with an infrared thermometer before applying film and after using heat tools. If a panel exceeds the maximum temperature, cool it to the target range, then proceed. Document readings and corrective actions to maintain consistent, reliable installations.
Surface vs Air Temperature
How hot is the metal compared with the air around it? You must check surface vs air temperature before applying film. Measure both and confirm temperature stability: surface should closely match ambient heat to avoid rapid expansion or contraction during placement.
If metal is significantly warmer or cooler than air, wait until temperatures equalize to prevent adhesive slip, trapping, or shrinking after curing. Work only when both readings sit within the recommended range and remain steady for several minutes.
Avoid placing film on surfaces heated by sun, engines, or recently cooled interiors. If uneven spots exist, shade or ventilate the area and let the panel reach equilibrium. Proceed once temperature stability is confirmed to ensure correct bonding and minimal post-install movement.
Temperature Measurement Methods
Now that you’ve confirmed surface and air temperatures are stable, measure surface temps accurately to stay within the recommended 15°–32°C (60°–90°F) range and to detect local hot or cold spots. Use an infrared (non-contact) thermometer for quick scans: hold perpendicular, 10–30 cm away, and record multiple readings across each panel, including edges, creases, and near trim. Supplement with a surface-contact probe thermometer for spot verification, especially on textured areas.
Log readings on a simple checklist and mark areas outside limits for correction before installation. Ignore unrelated factors like air humidity or panel chemistry when recording temperatures; focus only on consistent, repeatable surface values. Recheck after any sun exposure or heat-gun use to ensure stability.
Effects Of Temperature Variance
Why does surface temperature matter? You must control surface temperature to avoid improper adhesion, shrinkage, or trapped moisture. Work within recommended limits (15°–32°C/60°–90°F). Colder surfaces stiffen film and slow adhesive flow; hotter surfaces make adhesive overly fluid and increase stretch risk. Monitor temperature effects continuously with an infrared gun and touch checks.
If the surface is cold, preheat with a heat gun and allow panels to equalize. If hot, shade or cool panels before application. Humidity considerations matter: high humidity can trap moisture under film and extend curing; low humidity can speed evaporation, reducing reposition time. Record conditions, adjust slip/tack mix, and schedule installations during stable ambient conditions to minimize rework and ensure consistent curing and adhesion.
Frequently Asked Questions
Can PPF Be Professionally Removed Without Repainting?
Yes, you can have PPF professionally removed without repainting if removal procedures are followed carefully. You’ll heat the film to soften adhesive; peel slowly at a low angle; and use adhesive removers and isopropyl alcohol to clean residue.
A trained tech will inspect paint for defects, perform light clay and decontamination, and polish if needed. Repaint compatibility depends on original paint condition. If paint’s intact, you won’t need repainting.
Will PPF Yellow Over Several Years?
Yes, PPF yellowing can occur over years if lower-quality film or heavy UV exposure is present. You’ll inspect for PPF aging signs: discoloration, loss of gloss, and embrittlement.
You’ll choose UV-stable, top-coated films and follow proper washing and curing to slow degradation. You’ll avoid prolonged sun exposure, use ceramic coatings or waxes for extra protection, and replace the film if yellowing compromises appearance or transparency.
Can Ceramic Coating Be Applied Over PPF?
Yes, you can apply ceramic coating over PPF. You’ll clean and decontaminate the film. Use isopropyl alcohol to ensure no oils, and work in a dust-free area.
Test a small area first for PPF compatibility and adhesion. Apply thin, even passes; allow proper flash time and cure per coating instructions. Maintain normal PPF care: avoid washing for the recommended cure period and monitor for any edge lifting.
Does PPF Resist Road Salt and Chemical De-Icers?
Yes, PPF resists road salt and chemical de icers, but you should expect limits. You’ll rely on PPF durability to block corrosion and abrasives from road grit. Rinse frequently to prevent prolonged chemical exposure.
Address durability concerns by inspecting edges, washing with pH-neutral soap, and using heated drying to avoid trapped salt. Replace or repair sections showing delamination or staining to maintain long-term salt resistance and film performance.
Are Warranty Transfers Available When Selling the Car?
Yes, warranty transfers are often available when selling the car. You should check the original warranty terms, register the new owner per provider instructions, and obtain a transfer confirmation or certificate.
Gather proof of purchase, installation records, and any maintenance logs. Notify the warranty company promptly, pay any transfer fee, and confirm coverage dates and exclusions. Document everything and provide the buyer with clear selling considerations and contact details for claims.
Conclusion
You’ve now got the essentials for getting paint protection film on right. Always check your PPF thickness and coverage. Follow the 2″ seamless edge rule, and confirm surface temperature sits inside the ideal application range. Measure both surface and air temps with accurate tools, and respect the minimum and maximum thresholds.
If temps vary, adjust drying times and pressure. Stick to these procedural checks every time to ensure durable adhesion and a flawless finish.