Wheel and Tire Detailing Checklist
You’ll check cold tire pressure with a certified gauge after 3+ hours resting and set PSI to the door-jamb or manual spec (typically 28–36 PSI).
Recheck monthly and before trips.
Verify lug nuts with a calibrated torque wrench; tighten in a star pattern and re-torque after 50–100 miles.
Inspect valve stems for correct type, material, length, and pressure rating.
Replace rubber stems every 3–5 years and document dates.
Continue for detailed torque charts, stem specs, and corrosion checks.
Quick Overview
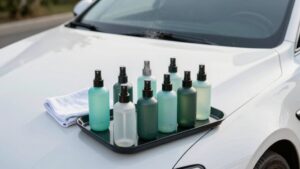
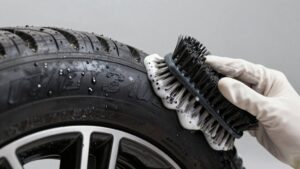
- Clean wheels with dedicated wheel cleaner, soft brush, and remove brake dust before washing the tires.
- Inspect tires for cuts, bulges, tread depth, and foreign objects. Note any issues for repair or replacement.
- Degrease and clean valve stems and caps. Replace rubber stems every 3–5 years or if damaged.
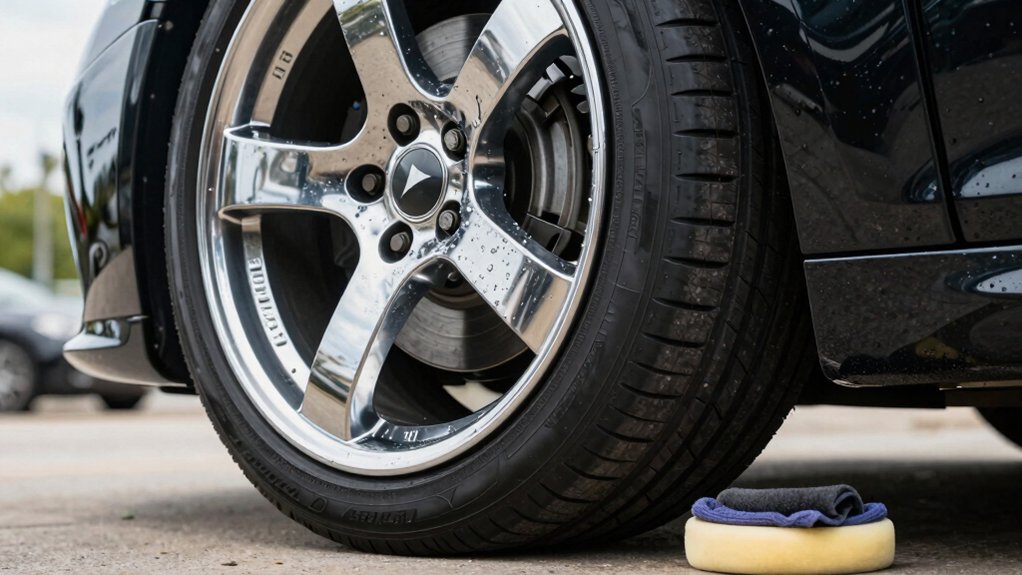
- Dress tires with a non‑petroleum, matte tire dressing applied sparingly for even coverage and safe traction.
- After reinstallation, torque lug nuts to manufacturer specs in a crisscross pattern. Re‑check after 50–100 miles.
Wheel/Tire Pressure Chart
Start by checking cold tire pressure with a certified gauge. Press firmly on the valve stem and compare the reading to the vehicle-specific PSI listed on the driver’s door jamb sticker or in your owner’s manual. Use 28–36 PSI for most passenger cars; avoid the tire sidewall max PSI as your daily target.
Adjust air, then recheck monthly and before long trips. Proper pressure supports wheel alignment accuracy and prolongs tire rotation intervals.
| Item | Recommendation | Note |
|---|---|---|
| Cold check | 3+ hours rest | Use digital/analog gauge |
| Sticker | Driver’s door jamb | Primary source |
| Spare | Check monthly | Match load needs |
| Over/Under | Avoid extremes | Impacts handling and wear |
Lug Nut Torque Values
After you’ve confirmed correct tire pressure and wheel fitment, check and set lug nut torque to the vehicle manufacturer’s specification to ensure safe wheel attachment and even load distribution. You’ll use a calibrated torque wrench and follow the specified sequence to avoid uneven clamping.
Keep references handy: owner’s manual or factory placard, since torque values vary by vehicle and wheel type. Remember to re-torque after the first 50–100 miles.
- Use a star or crisscross pattern when tightening lug nuts.
- Set torque wrench to the exact spec; avoid “feel” tightening.
- Re-check lug nut torque after initial driving and during regular inspections.
Maintain records of torque checks. Consistent lug nut torque and proper wheel tire pressure prevent vibration, stud damage, and unsafe wheel separation.
Valve Stem Compatibility
Check valve stem type and material before you finish the wheel. Rubber, metal, and TPMS-compatible stems have different installation and longevity requirements. Verify the stem’s pressure rating and length match the tire and wheel to avoid leaks or interference with valve caps and TPMS sensors.
Prioritize corrosion-resistant finishes or replace corroded stems to ensure reliable sealing and safe tire pressure maintenance.
Valve Stem Types
There are several valve stem types you’ll encounter: rubber snap-in, metal clamp-in, TPMS-integrated, and high-pressure racing stems. Each has specific compatibility requirements with wheel material, tire pressure monitoring systems, and intended use. You’ll inspect valve stem materials to confirm chemical resistance, temperature tolerance, and mechanical strength before servicing.
Check stem seal design for proper seating, leak prevention, and ease of replacement. Poor seal geometry causes slow leaks and complicates balancing. For TPMS-integrated stems, verify sensor fitment and torque specs to avoid damage. For clamp-in and racing stems, confirm correct hole diameter and reinforcement.
When replacing stems, use manufacturer-recommended parts, torque hardware accurately, and pressure-test each assembly to ensure leak-free operation and safe tire performance.
Material Compatibility
Why does valve stem material matter so much? You need to match valve stem compatibility to wheel and tire materials to prevent corrosion, leaks, and premature failure. Check whether rubber, metal, or TPMS-specific stems suit your wheel alloy and bead design before cleaning or replacing parts.
When you assess material compatibility, inspect seals, mounting holes, and surrounding coatings for wear or chemical sensitivity. Avoid cleaners or dressings that can degrade rubber stems. Note which solvents and pH ranges are safe for metal stems to prevent galvanic reactions. During detailing, protect valve stems with gentle application and rinse thoroughly to remove residue.
Document stem type and compatibility so future maintenance stays consistent and risk-free.
Pressure Rating Limits
How much pressure a valve stem can safely handle depends on its material, construction, and the tire’s intended use. You should always confirm the stem’s rated PSI before inflating or subjecting it to extreme loads.
Check the valve stem’s stamped or listed pressure rating against the tire rating and the vehicle’s recommended wheel pressure. Use stems designed for your tire type: passenger, performance, or heavy-duty. Replace deteriorated rubber or damaged metal stems.
When installing new tires, verify stem compatibility with rim valve holes and retainers. An underspecified stem can leak or fail under repeated high-pressure cycles. Document stem specs during servicing so future inflation matches both stem and tire limits.
Stem Length Considerations
What length of valve stem do you need will depend on rim design, wheel thickness, and whether you’re using tire pressure monitoring sensors (TPMS): choose a stem that lets you access and service the valve without stressing the mounting or cap.
You should measure rim flange-to-face distance and account for center caps or decorative covers when selecting stem length. Match stem length to valve stem compatibility specs from the wheel and TPMS manufacturer.
Use extended stems only where clearance or reach is insufficient; avoid unnecessary extension that can flex or leak. When installing, torque fittings to recommended values, inspect rubber seals for proper compression, and confirm no contact with moving parts.
Record stem length and part numbers for future maintenance and replacement.
Corrosion Resistance Factors
Because valve stems sit at the interface of wheel, tire, and environment, you should prioritize materials and treatments that resist corrosion to maintain seal integrity and serviceability. Choose stems with proven corrosion resistance: brass, stainless steel, or corrosion‑treated aluminum. Verify compatibility with your wheel coatings to avoid galvanic reactions. Inspect sealing surfaces and threads for coating breaks or pitting before installation.
When using aftermarket caps or sensors, pick corrosion‑resistant alloys and non‑reactive seals; torque to spec to prevent crevice corrosion from looseness. After cleaning and coating applications, recheck stems for coating overspray or trapped cleaners that can accelerate corrosion. Document material choices and post‑service checks so you can methodically track potential failures and preserve long‑term valve stem serviceability.
Replacement Frequency Guidelines
When should you replace valve stems to guarantee compatibility and safety? You should inspect valve stems at every service interval and plan replacement timing based on age, damage, and material compatibility. Rubber stems typically need replacement every 3–5 years or sooner if cracking or leaking appears. Metal or high-performance stems last longer but still require inspection.
Coordinate replacements with tire changes or seasonal scheduling to minimize downtime and ensure correct stem type for TPMS and rim fitment. Always match stem material and valve type to wheel design and tire pressure monitoring systems; confirm vendor specifications. Replace any stem showing corrosion, brittle rubber, or faulty seals immediately.
Document replacement dates to establish predictable future replacement timing.
Frequently Asked Questions
How Often Should I Deep-Clean Wheels to Remove Iron Deposits?
You should deep-clean wheels to remove iron deposits every 4–8 weeks, depending on driving conditions and brake dust buildup. If you drive in city stop-and-go traffic, mountainous areas, or use aggressive brakes, clean every 2–4 weeks.
For light suburban driving, 6–8 weeks is fine. Inspect wheels regularly; when you see discoloration or stubborn particles after a rinse, perform an immediate deep cleaning to prevent etching and corrosion.
Can Wheel Cleaners Damage Aftermarket Clear Coats?
Yes, wheel cleaners can cause clear coat damage if they’re too harsh, left on too long, or used on hot wheels. You should choose pH-neutral or manufacturer-recommended wheel cleaners. Test a small area first, and follow contact-time guidance.
Use soft, non-abrasive brushes and rinse thoroughly from top to bottom. If you see etching, discoloration, or dulling, stop immediately and neutralize residues to prevent permanent clear coat damage.
What’s the Best Way to Remove Curb Rash Without Refinishing?
Use a touch-up kit and careful sanding to repair curb rash without refinishing. You’ll clean the area, sand jagged edges, fill deep gouges with putty, sand smooth, and apply matching touch-up paint plus clearcoat if needed.
Finish with light polishing and wheel maintenance to blend the repair. Don’t forget tire care: protect the sidewall while working and re-dress the tire after repair for a uniform look and protection.
Are Wheel Seals or Ceramic Coatings Worth the Cost?
Yes, both wheel seals and ceramic coatings can be worth the cost if you want lasting protection and easier maintenance. You’ll reduce deep clean frequency and speed iron deposits removal because contaminants bead and rinse off sooner.
Apply professionally or follow strict prep steps yourself. Coatings aren’t punch-proof; however, they cut cleaning time and chemical use. Weigh upfront expense against saved labor, fewer harsh treatments, and extended wheel finish longevity.
How Long After Dressing Can I Drive Without Slingback?
You should wait at least 24 hours for dressing cure before driving to minimize slingback. If the product specifies longer cure time, follow that. Temperature and humidity affect slingback timing.
In warm, dry conditions, you might get safe road time after 12 to 24 hours; in cool or humid weather, wait 48 hours. Apply thin coats, let each tack-free cure, and avoid rain or washing during the full cure period to prevent slingback.
Conclusion
You’ll keep your wheels and tires safe and performing well by following these checklist items: Verify correct pressures from the chart. Use the specified lug nut torque and fit valve stems that match rim type and pressure rating.
Check stem length, compatibility, and corrosion resistance. Replace components on the recommended schedule. Be methodical: Document values, inspect regularly, and address wear or damage immediately so you avoid failures and maintain consistent handling and fuel efficiency.